Rosemary Focaccia Bread Recipe
By: Ashlyn Walters / Southern Hospitality Company
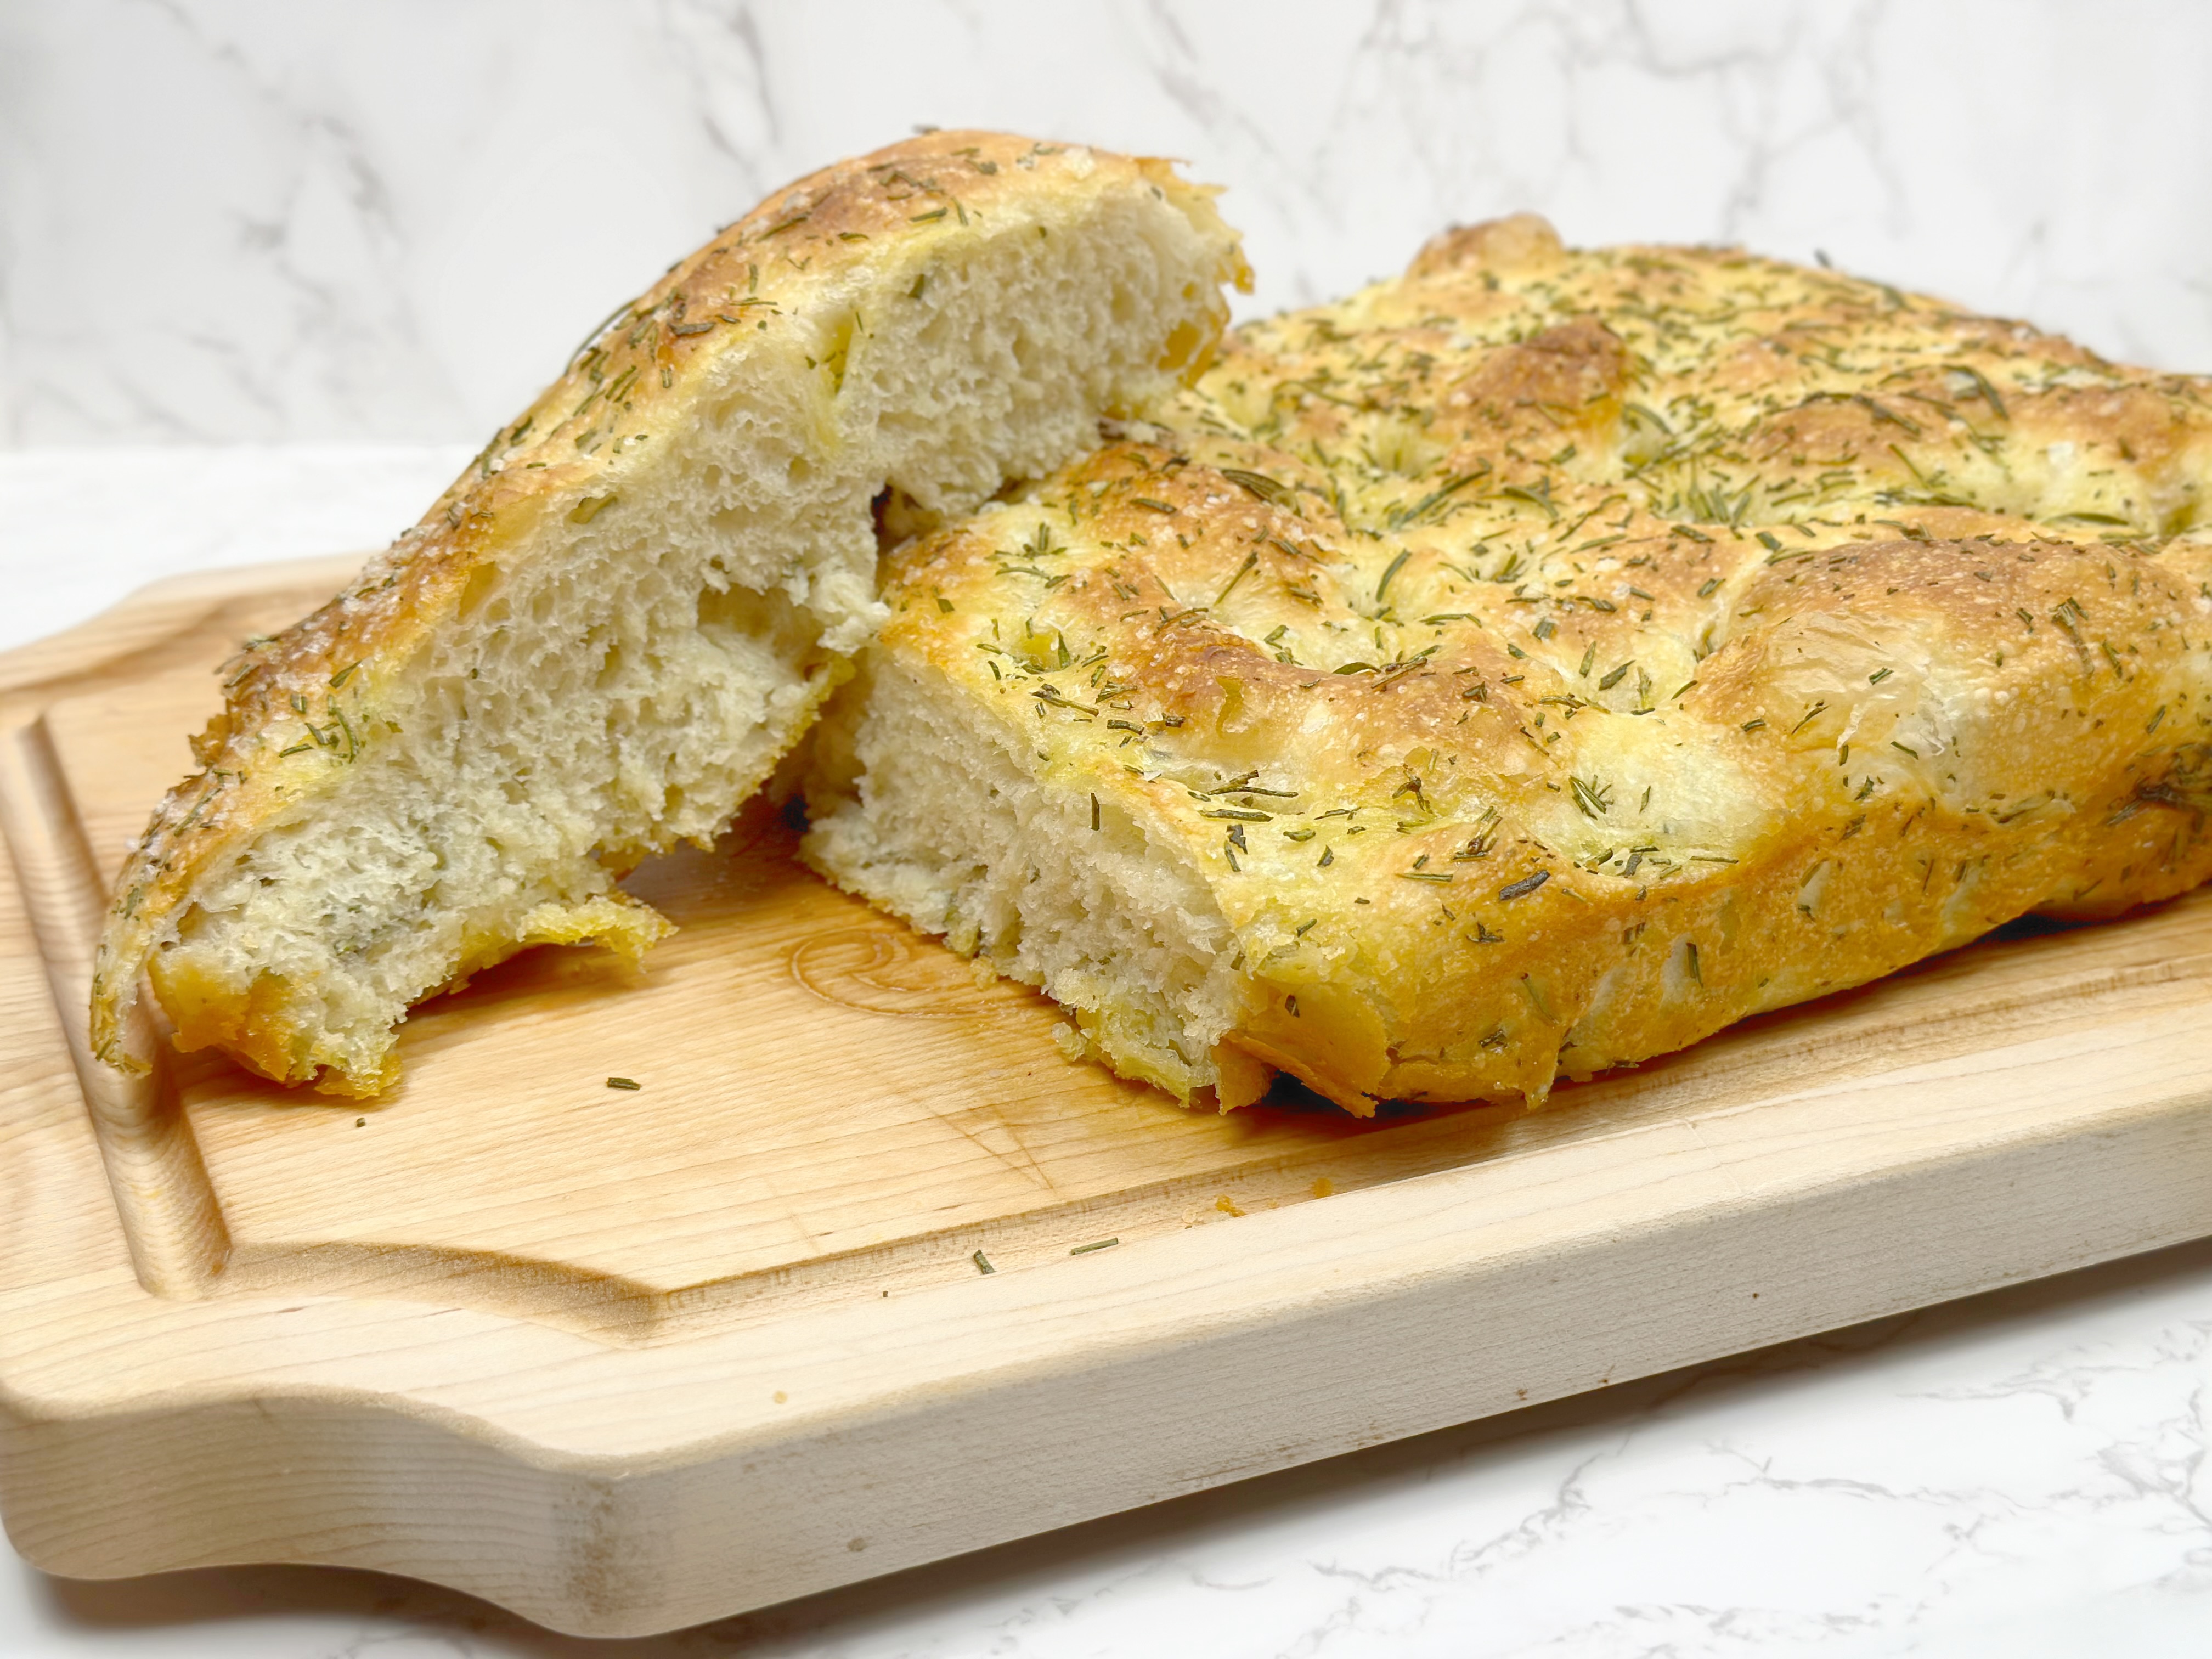
There are few things in life more satisfying than pulling a perfectly golden, aromatic Rosemary Focaccia out of the oven—and every single person who’s ever tasted this recipe has asked for it. It’s the kind of bread that’s so good, it practically begs to be shared. Soft and airy on the inside with a crispy, golden crust on the outside, the hint of fresh rosemary and a drizzle of olive oil make each bite downright addictive. Whether it’s served alongside creamy burrata (a pairing that’s nothing short of magic) or used to mop up the last remnants of sauce in a bowl, this focaccia never disappoints. It’s the kind of recipe that becomes an instant staple at dinner parties and family gatherings—and trust me, you’ll want to make it again and again. So, get ready to impress, because once you bake this, everyone will be asking you for the recipe!
Note on Measuring Ingredients:
To achieve the perfect focaccia every time, it’s important to measure your ingredients accurately. I highly recommend using a food scale to measure your flour, water, and other ingredients by weight (grams). This ensures consistent results, as measuring by volume (cups and teaspoons) can vary. A scale allows you to follow the recipe precisely and achieve the desired texture and flavor for your focaccia!
Ingredients:
- 500g bread flour
- 420g room temperature or slightly warm water
- 6g instant yeast
- 5g honey
- 15g extra virgin olive oil (plus more for greasing and drizzling)
- 10g fine sea salt
- 2-3 sprigs fresh rosemary (or 12 tbsp dried rosemary, finely chopped)
- Flaky Maldon sea salt (for topping)


Instructions:
1. Mix the Dough:
- In a large mixing bowl, whisk together the water, instant yeast, honey, extra virgin olive oil, and sea salt until well combined.
- Add the bread flour to the bowl and mix with a spoon or spatula until there are no dry patches of flour left.
2. Rest and First Stretch & Fold:
- Cover the bowl with a cloth and let the dough rest at room temperature for 15 minutes.
- After resting, perform a stretch and fold to develop the gluten:
- Wet your hands (to prevent the dough from sticking). Starting at the 12 o’clock position, grab a handful of dough, stretch it upwards, and fold it over toward the 6 o’clock position. Repeat this action on all four sides of the dough.
- Continue until the dough feels taut and you can no longer stretch it easily. The dough should form a rough ball with a smooth top.
3. Second Stretch & Fold:
- Let the dough rest for another 15 minutes and repeat the stretch and fold process.
- Tip: By the second stretch and fold, you should notice the dough is becoming tighter and easier to handle. If you can stretch it without it snapping back immediately, you’re on the right track.


4. Bulk Fermentation:
- After the second stretch and fold, wet your hands again and gently gather the dough into a smooth ball.
- Place the dough seam side down in the bowl. Cover the bowl and leave it to proof for 1.5 hours at room temperature.
- Optional Step: If you prefer a slower fermentation for more flavor, you can refrigerate the dough overnight. This step will enhance the taste and texture of the bread. Simply cover the bowl with plastic wrap and refrigerate overnight. If you skip this step, simply proceed to the next step after the 1.5hour proofing at room temperature.
- Tip: If you decide to refrigerate overnight, the dough will develop more flavor from the slow fermentation. Just be sure to allow it to come to room temperature for about 30 minutes before you move on to the next step.
5. Prepare for Baking:
- Preheat your oven to 420°F (215°C).
- Lightly oil a 9” x 13” baking pan with extra virgin olive oil.
- Once the dough has proofed (either after 1.5 hours at room temperature or overnight in the fridge), transfer it to the prepared pan. Gently stretch the dough to fit the pan. If the dough resists, let it rest for a few minutes before stretching it further.
- Cover the pan with another baking sheet (inverted) to prevent the dough from drying out while it rises.
- Tip: When stretching the dough to fit the pan, don’t rush it. Allow it to relax and stretch naturally—if it resists, let it sit for a few minutes to ease up before continuing.


6. Add Rosemary and Final Rise:
- After 2 hours, the dough should have risen and stretched to fit the pan. Gently stretch it to the corners, if necessary.
- Drizzle more olive oil generously over the top of the dough. Using your fingers, dimple the dough all over, creating deep holes.
- Scatter the rosemary leaves (either whole or finely chopped) across the top of the dough. If you’re using fresh rosemary, press it slightly into the dough to keep it from burning during baking.
- Sprinkle with flaky sea salt for extra flavor and texture.
7. Bake:
- Bake in the preheated oven for 1824 minutes, or until the focaccia is golden brown on top and cooked through. The edges should be crisp, and the center should be soft and airy.
- Tip: If the focaccia starts to brown too quickly, you can cover it loosely with aluminum foil for the last few minutes of baking.
8. Serve:
- Once baked, remove from the oven and allow the focaccia to cool slightly. Slice and serve warm or at room temperature.


Other Tips:
- Rosemary: Fresh rosemary gives this focaccia an aromatic, fragrant flavor. If using dried rosemary, chop it finely to avoid it being too overpowering.
- Drizzling Oil: For added richness, drizzle a little extra olive oil on top just before baking, and again right after it comes out of the oven.
- Storage: This focaccia is best enjoyed fresh, but leftovers can be stored at room temperature for up to 2 days. Reheat in the oven to restore the crisp crust.


Baking this rosemary focaccia is a rewarding experience that fills your kitchen with irresistible aromas and results in a loaf that’s sure to impress. Whether you’re serving it with a meal or enjoying it on its own with a drizzle of olive oil, each bite offers the perfect balance of soft, airy texture and a crispy, golden crust. With a few simple ingredients and some attention to detail, you can create a delicious, homemade bread that’s bound to become a favorite. So gather your ingredients, embrace the process, and enjoy the satisfaction of making this timeless recipe from scratch.
We’d love to hear your thoughts if you try this recipe! Enjoy your focaccia!
Share this post:
Click this link to visit our shop! Follow us on social media below!
Southern Hospitality Company
3 responses to “Rosemary Focaccia Bread Recipe”
[…] December 31, 2024 at 5:20 AM | Posted in Uncategorized | Leave a comment Rosemary Focaccia Bread Recipe […]
[…] cuisine, the menu was a reflection of her favorite flavors. We began with a simple but flavorful rosemary focaccia, warm from the oven and perfect for sharing. The bread was paired with a fresh Italian salad, […]
[…] baguette, Rosemary Foccacia, or crackers for […]