
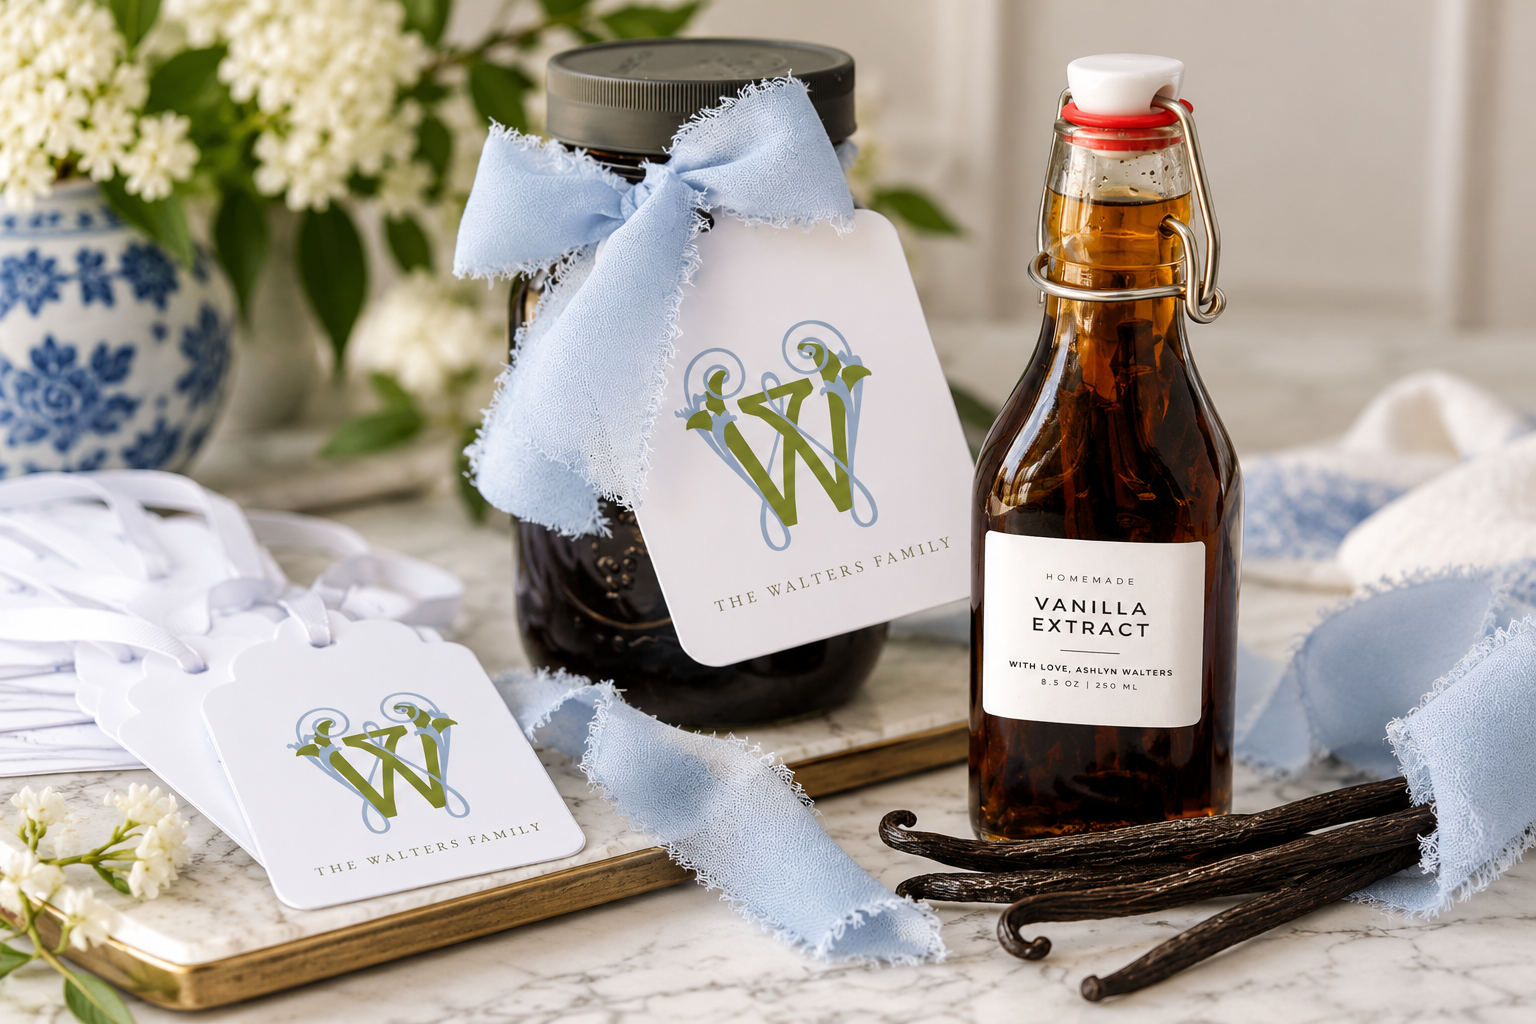
Create Your Own Vanilla Extract
By: Southern Hospitality Company
Welcome to the delightful world of homemade vanilla extract! If you’ve ever found yourself mesmerized by the intoxicating aroma of vanilla wafting through your kitchen, you’re in for a treat. Making your own vanilla extract is not only easy but also a fun adventure that adds a personal touch to your baking. Plus, it’s a fantastic way to impress friends and family with your culinary skills—and maybe a sprinkle of humor! So, roll up your sleeves, grab some vanilla beans and vodka, and let’s dive into this flavorful DIY project that will elevate your kitchen game to a whole new level.

Ingredients
Alcohol: 1 cup (vodka is common, but bourbon or rum can be used for a different flavor if you’re looking for a richer flavor to put in pecan pies, brown sugar based treats, or syrupy fall flavors)
Vanilla beans: 5-10 (Madagascar or Tahitian are preferable)
Equipment
A clean glass jar (because hygiene matters, folks)
A knife (preferably not the one you used for last night’s dinner)
A cutting board (don’t use your kitchen counter; it has feelings)
A funnel (optional, unless you enjoy spills)
Instructions
Step 1: Prepare the Vanilla Beans
- Choose Your Beans: Grab some high-quality vanilla beans. Think of them as the divas of the spice world—plump, fragrant, and just a bit dramatic. We used THESE Madagascar organic beans and they work like a charm!
- Split the Beans: Carefully slice each bean lengthwise. If they protest, just remind them they’re about to take a swim in some boozy goodness!
Step 2: Combine with Alcohol
- Add Beans to Jar: Toss those split beans into your glass jar. Give them a pep talk about their new life as vanilla extract.
- Pour in Alcohol: Pour in your alcohol, making sure the beans are fully submerged. They’re not great swimmers, after all.
Step 3: Seal and Store
- Seal the Jar: Close the lid tightly. This isn’t a game of hide and seek; we want the vanilla beans to stay put.
- Store: Place your jar in a cool, dark place—preferably somewhere without kids or pets that think it’s a new toy.
Step 4: Infusion Time
Shake Occasionally: Give the jar a gentle shake each week. Consider it your new workout routine.
Wait: Patience, young grasshopper! Let it steep for at least 8 weeks. This is the part where you practice your zen breathing. The longer it sits, the better it gets—just like fine wine or that one friend who needed a little maturity.

Step 5: Bottle, Label, & Package
- Transfer to Smaller Bottles: Use a funnel (if you have one) to avoid spills—unless you want your kitchen to smell like a vanilla-scented disaster zone. We used these bottles which can be easily refilled and reused.
- Label: Label your bottles. Write the date and maybe a quirky note like “Liquid Happiness” or “In Case of Baking Emergency.”
- Package: Time to wrap your bottles for friends and family. Be sure to use a customize gift tag! We have plenty of options here and if you’re taking it one more step to box and wrap, check out our wrapping paper here.

2″x2″ Square Customizable Label Template Download

Swing Top Glass Bottles 8 oz with Airtight Lids

Vintage Script Gift Tags, set of 20


Tips
- Storage: Keep it in a cool, dark place. Just like your secrets, this extract prefers to stay hidden.
- Usage: Use it in baking, cooking, or even in coffee to make your morning feel a little fancier. Who needs a barista when you’re a DIY vanilla guru?
Now you’re ready to impress your friends with your homemade vanilla extract and your newfound sense of humor! Enjoy!
Please be sure to tag us @SouthernHospitalityCo if you make you own vanilla extract! Visit our website at http://www.SouthernHospitalityCompany.com to shop more personalized products like the ones show in this post.
Share this post:
Click this link to visit our shop! Follow us on social media below!
Southern Hospitality Company
2 responses to “Create Your Own Vanilla Extract”
[…] Make your own Vanilla Extract from scratch HERE […]
[…] 1 tablespoon vanilla extract (homeade recipe here) […]